


| Brand | Cooler Master |
|---|---|
| Model Number | RR-212S-20PC-R2 |
| Voltage | 12 Volts |
| Maximum Power | 3.6 watts |
| Cooling Method | Fan |
| Compatible Devices | Desktop |
| Noise Level | 30dB |
| Material | Aluminum, Copper, nickel plating |
| Maximum Rotational Speed | 2000 RPM |
| Air Flow Capacity | 57.3 Cubic Feet Per Minute |
| Product Dimensions | 11.22 x 13.19 x 20.28 inches |
| Weight | 2.33 Pounds |
| General | ||||||||||||||||||||
|---|---|---|---|---|---|---|---|---|---|---|---|---|---|---|---|---|---|---|---|---|
|
||||||||||||||||||||
| Specification | ||||||||||||||||||||
|
||||||||||||||||||||
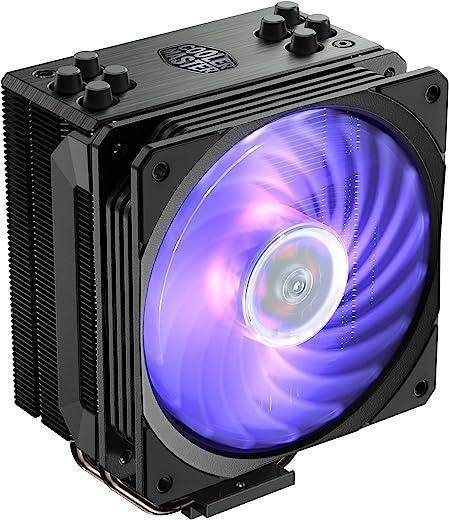
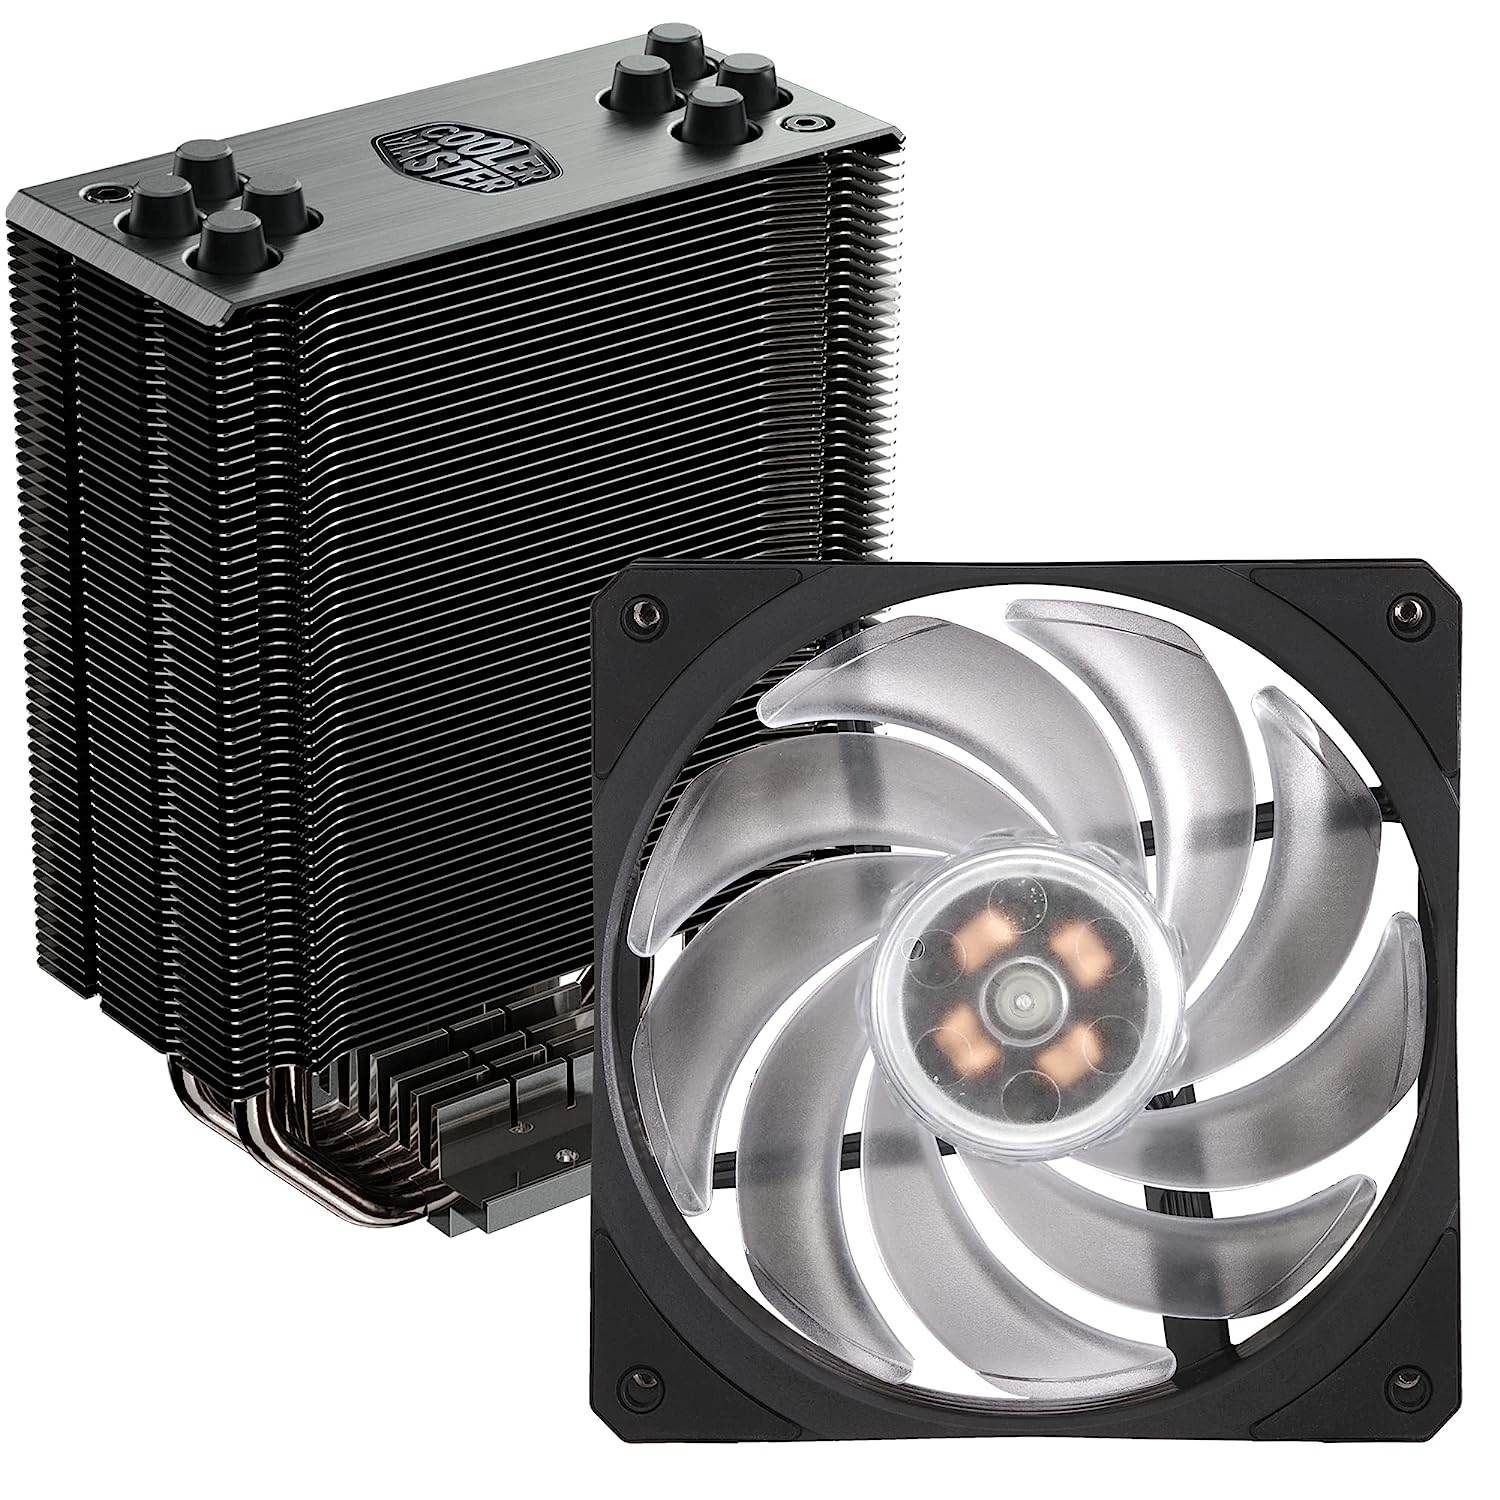
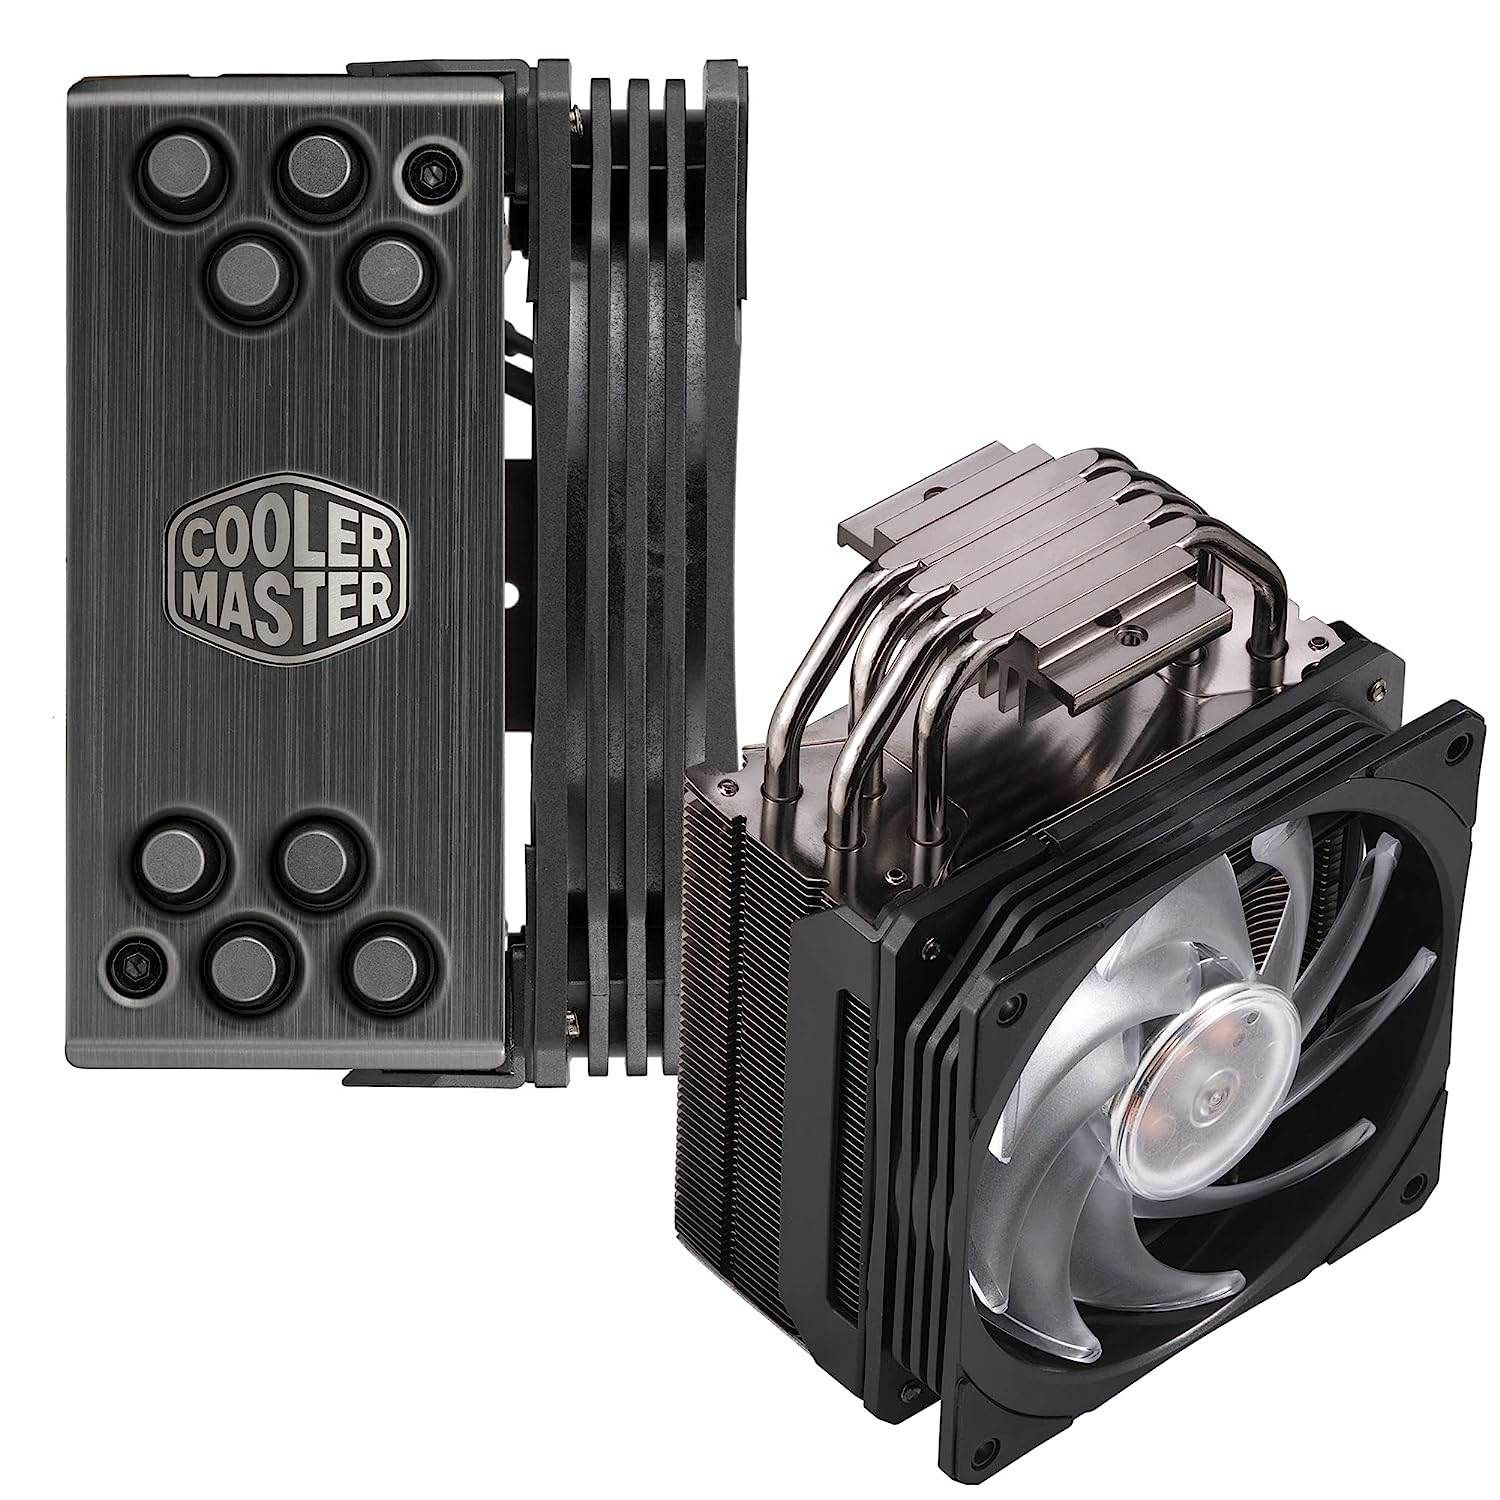
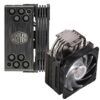
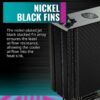
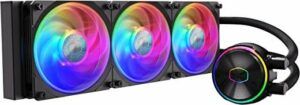
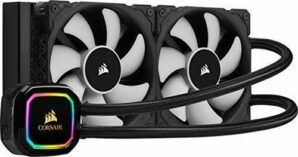
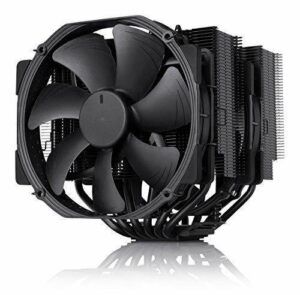
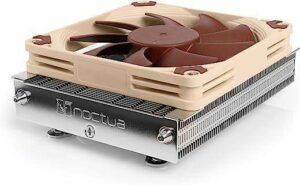
The Hyper Series air cooler is carrying on the legacy still, updated with compatible brackets for your Intel 12thGen LGA1700 CPUs. The Hyper 212 Black Edition offers easier installation with great performance, crowning it as one of the best air coolers today. The aluminum top cover and nickel plated jet black fins give the Hyper 212 Black Edition a premium aesthetic appeal to go with its uncompromised performance.The Hyper 212 Black Edition maintains an equal cooling efficiency as the Hyper 212 EVO, utilizing Direct Contact Technology and stack fin 4 heat pipe array for heat spot and airflow resistance reduction while maximizing airflow through the heatsink. The Silencio FP120 fan maintains great performance with impressive noise reduction, keeping this cooler as quiet as night.
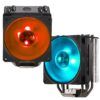
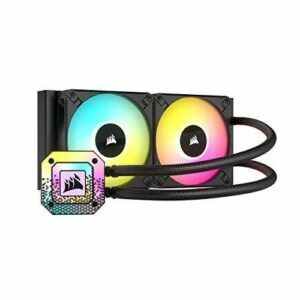
Hyper Blackout
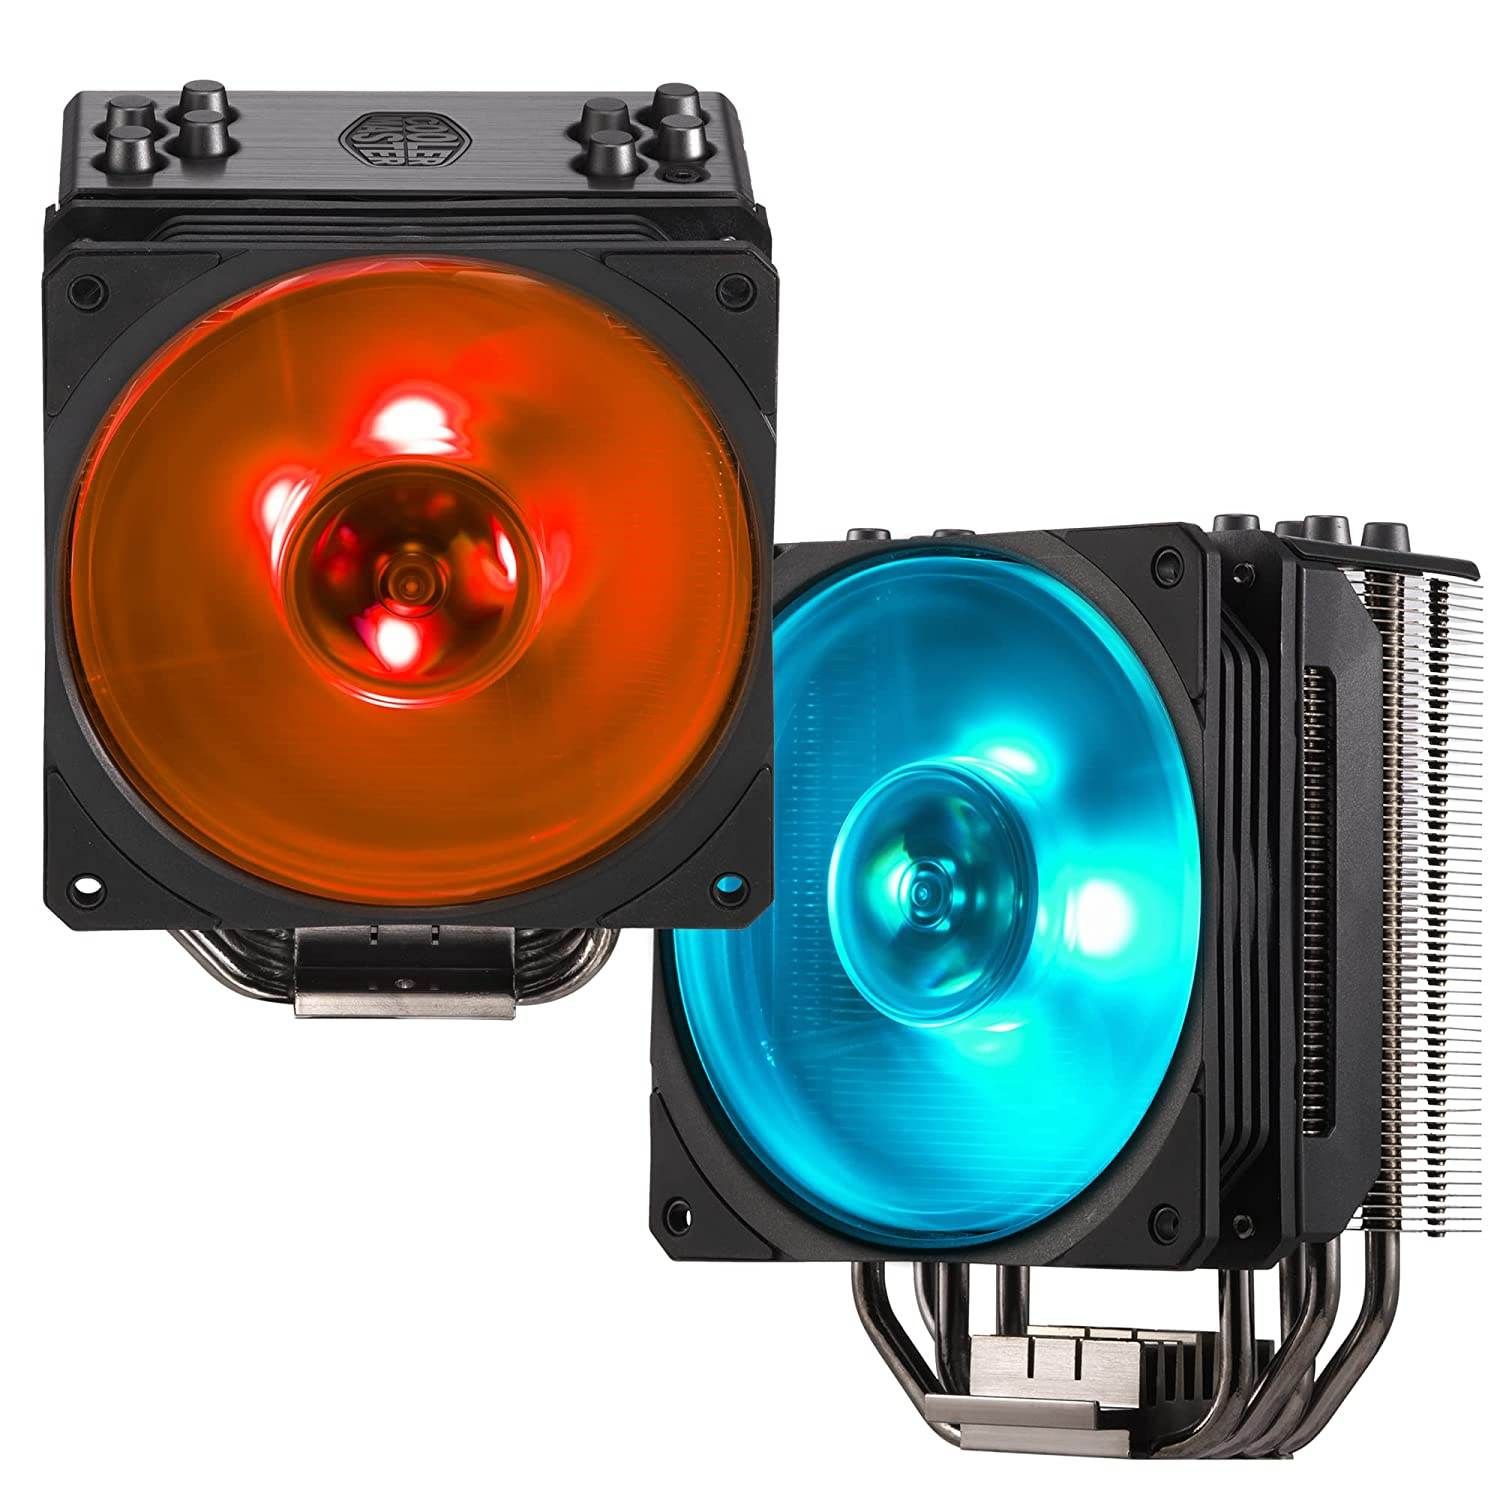
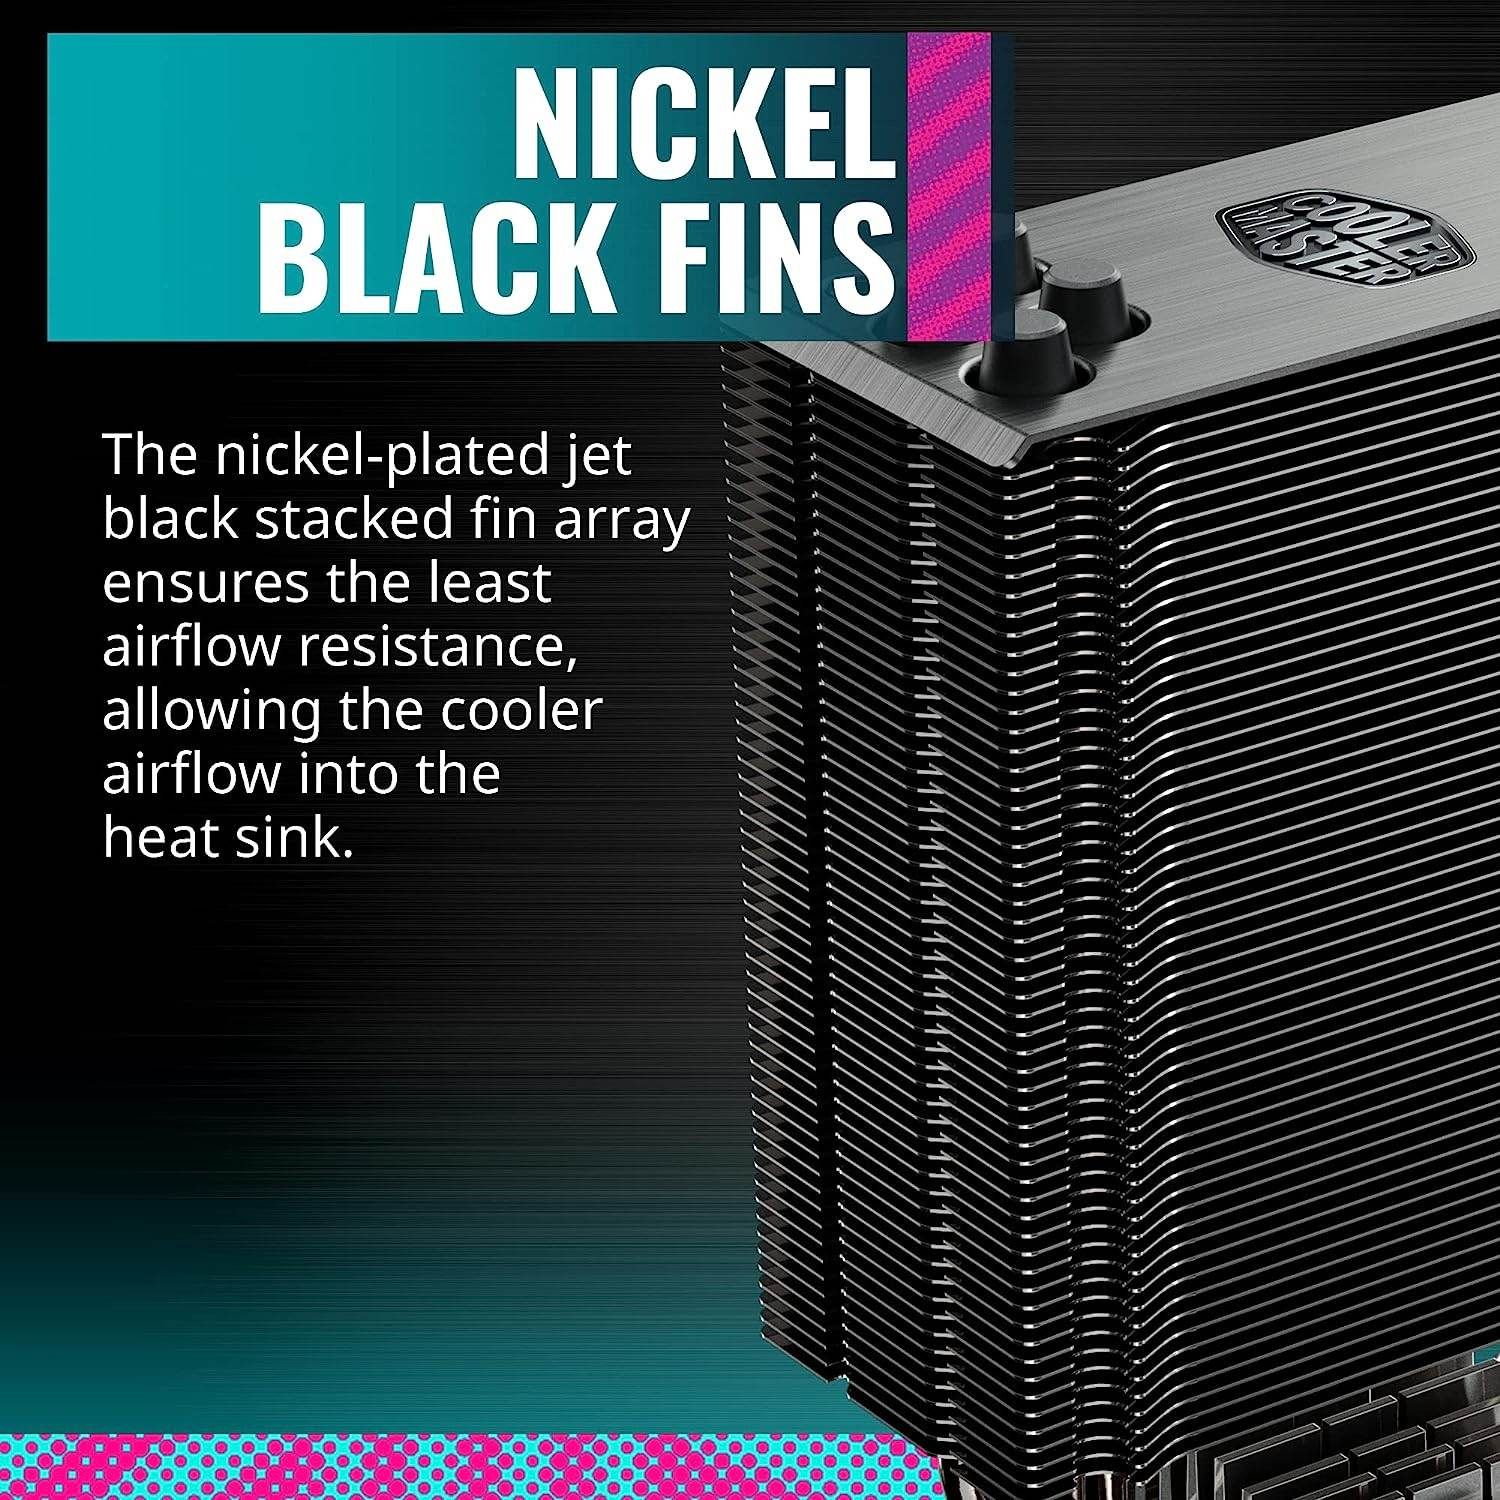
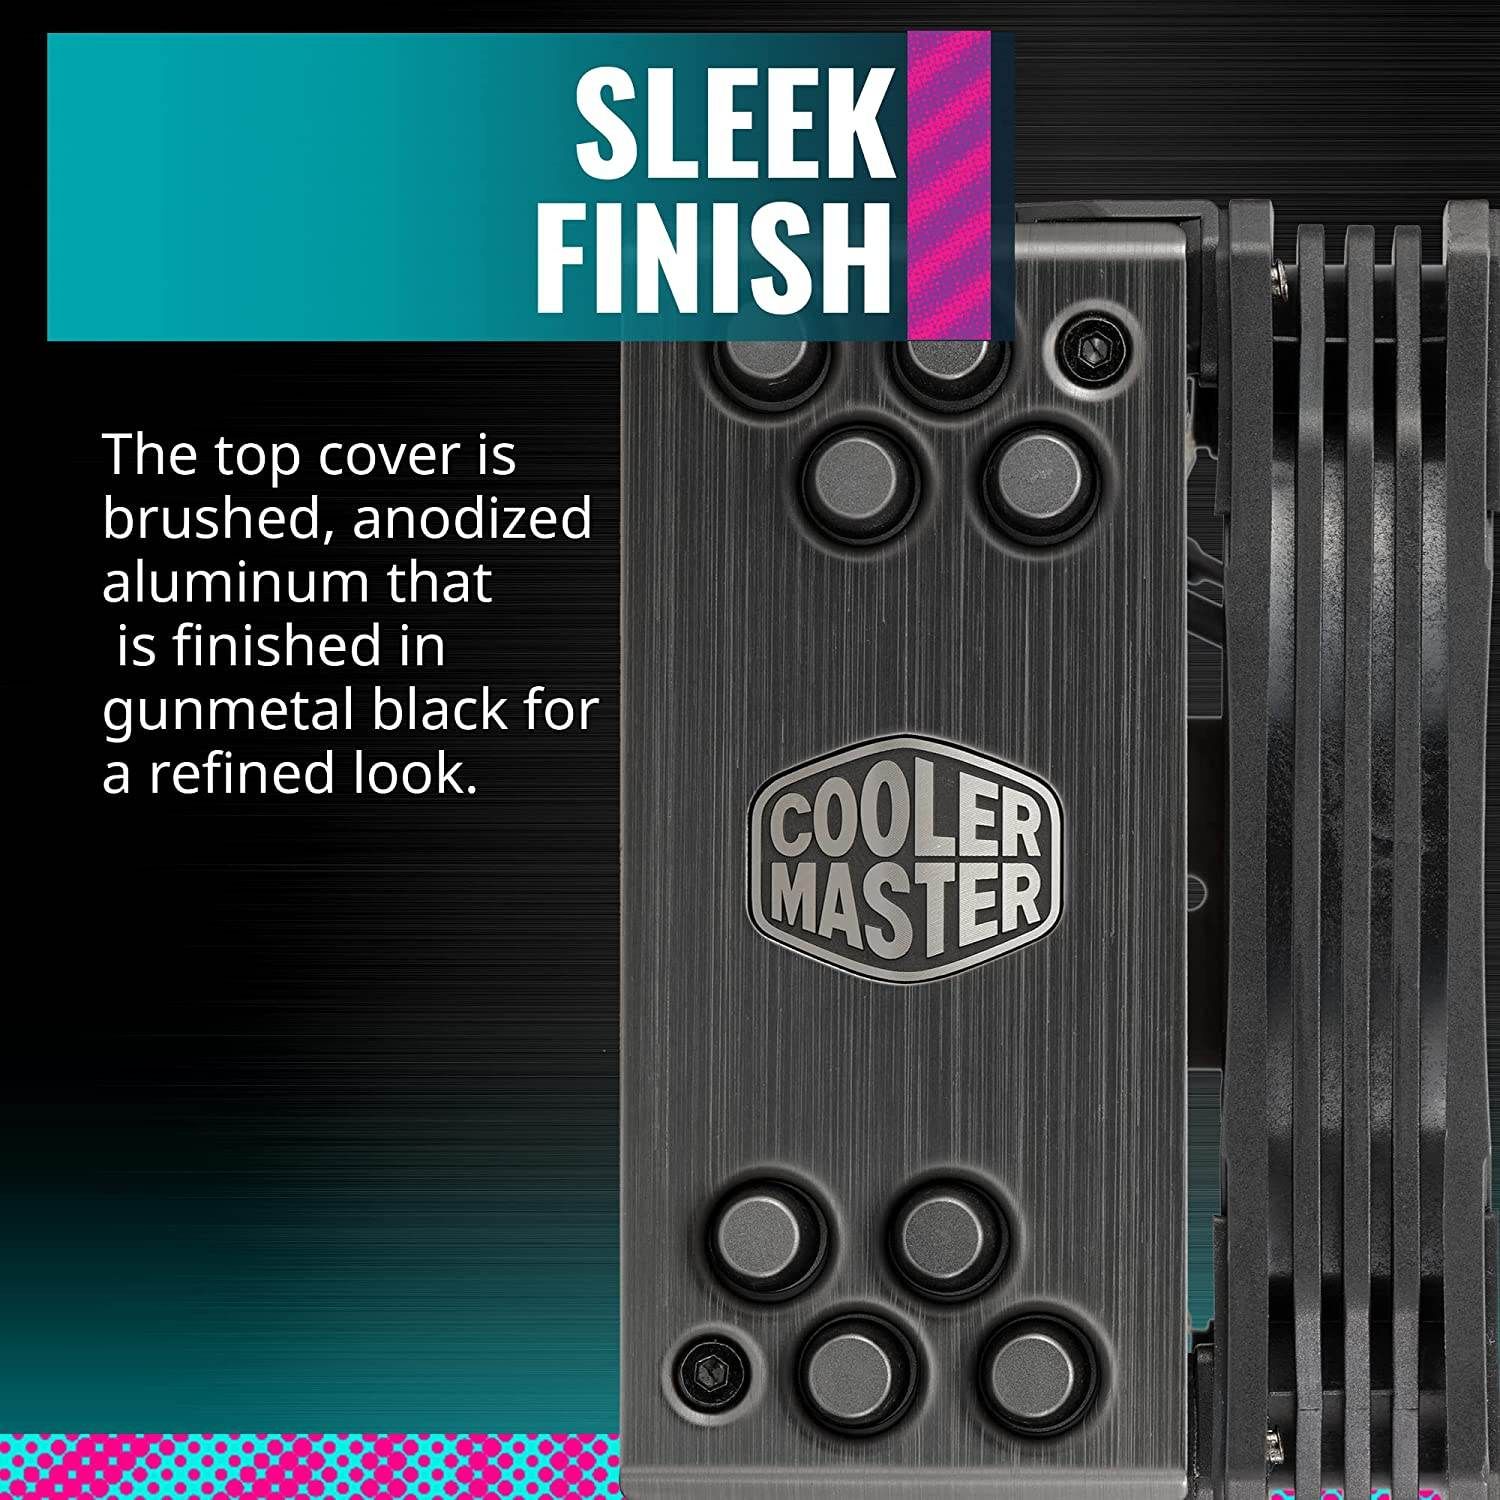
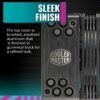
The legendary Hyper air cooler is back and better than before. The Hyper 212 RGB Black Edition offers better installation and great performance, easily one of the best air cooling solutions. Aluminum top cover and nickel-plated jet black fins, give the Hyper 212 RGB Black Edition a premium aesthetic appeal. The sleek jet black not only makes it look great. but also increases cooling performance.
We’re all about the things that make building a PC such a rewarding experience. The sense of achievement. The joy of making and creating something uniquely yours in form and function and, of course, the thrill of bringing your creation to life without melting your components.
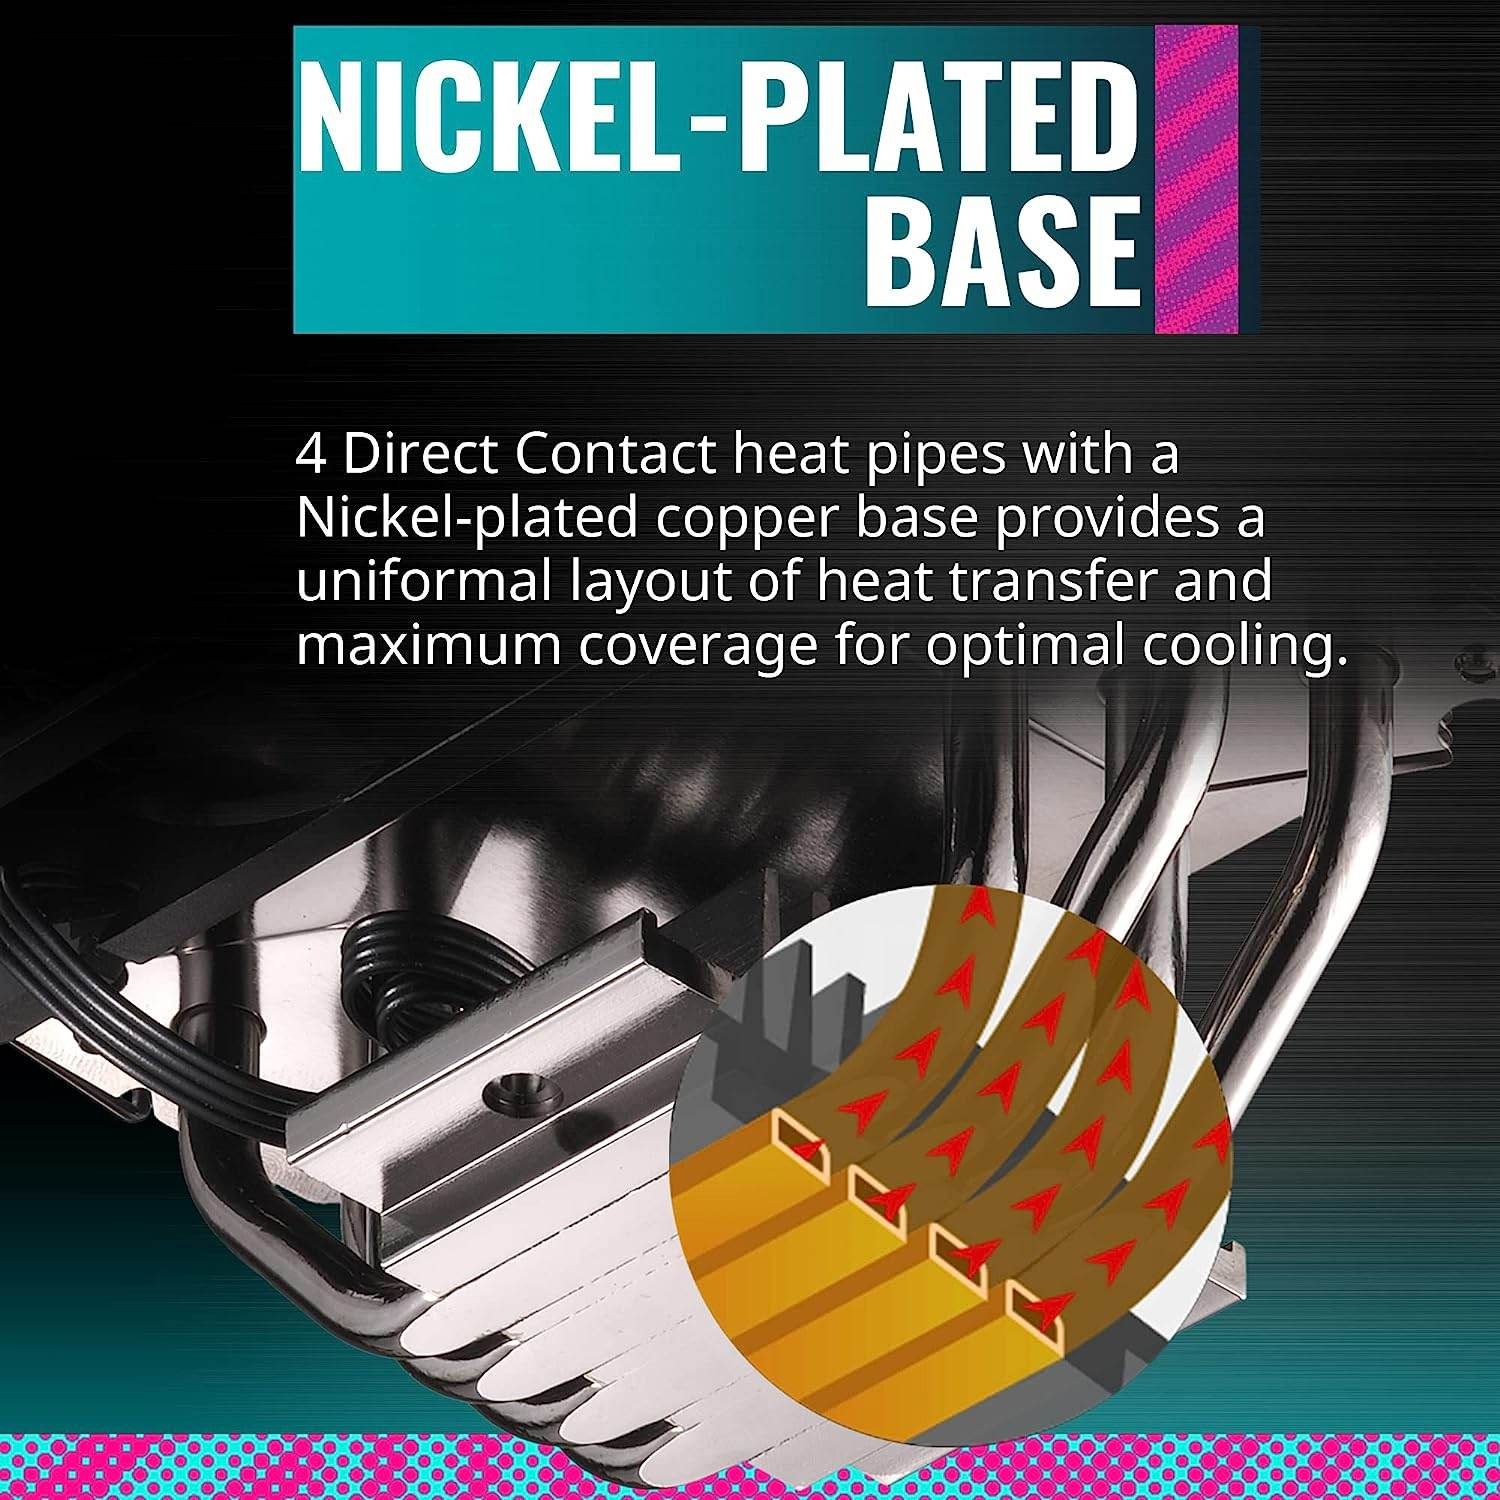
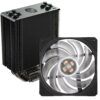
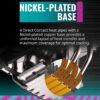
4 Direct Contact heat pipes with a Nickel-plated copper base provides a uniformal layout of heat transfer and maximum coverage for optimal cooling.
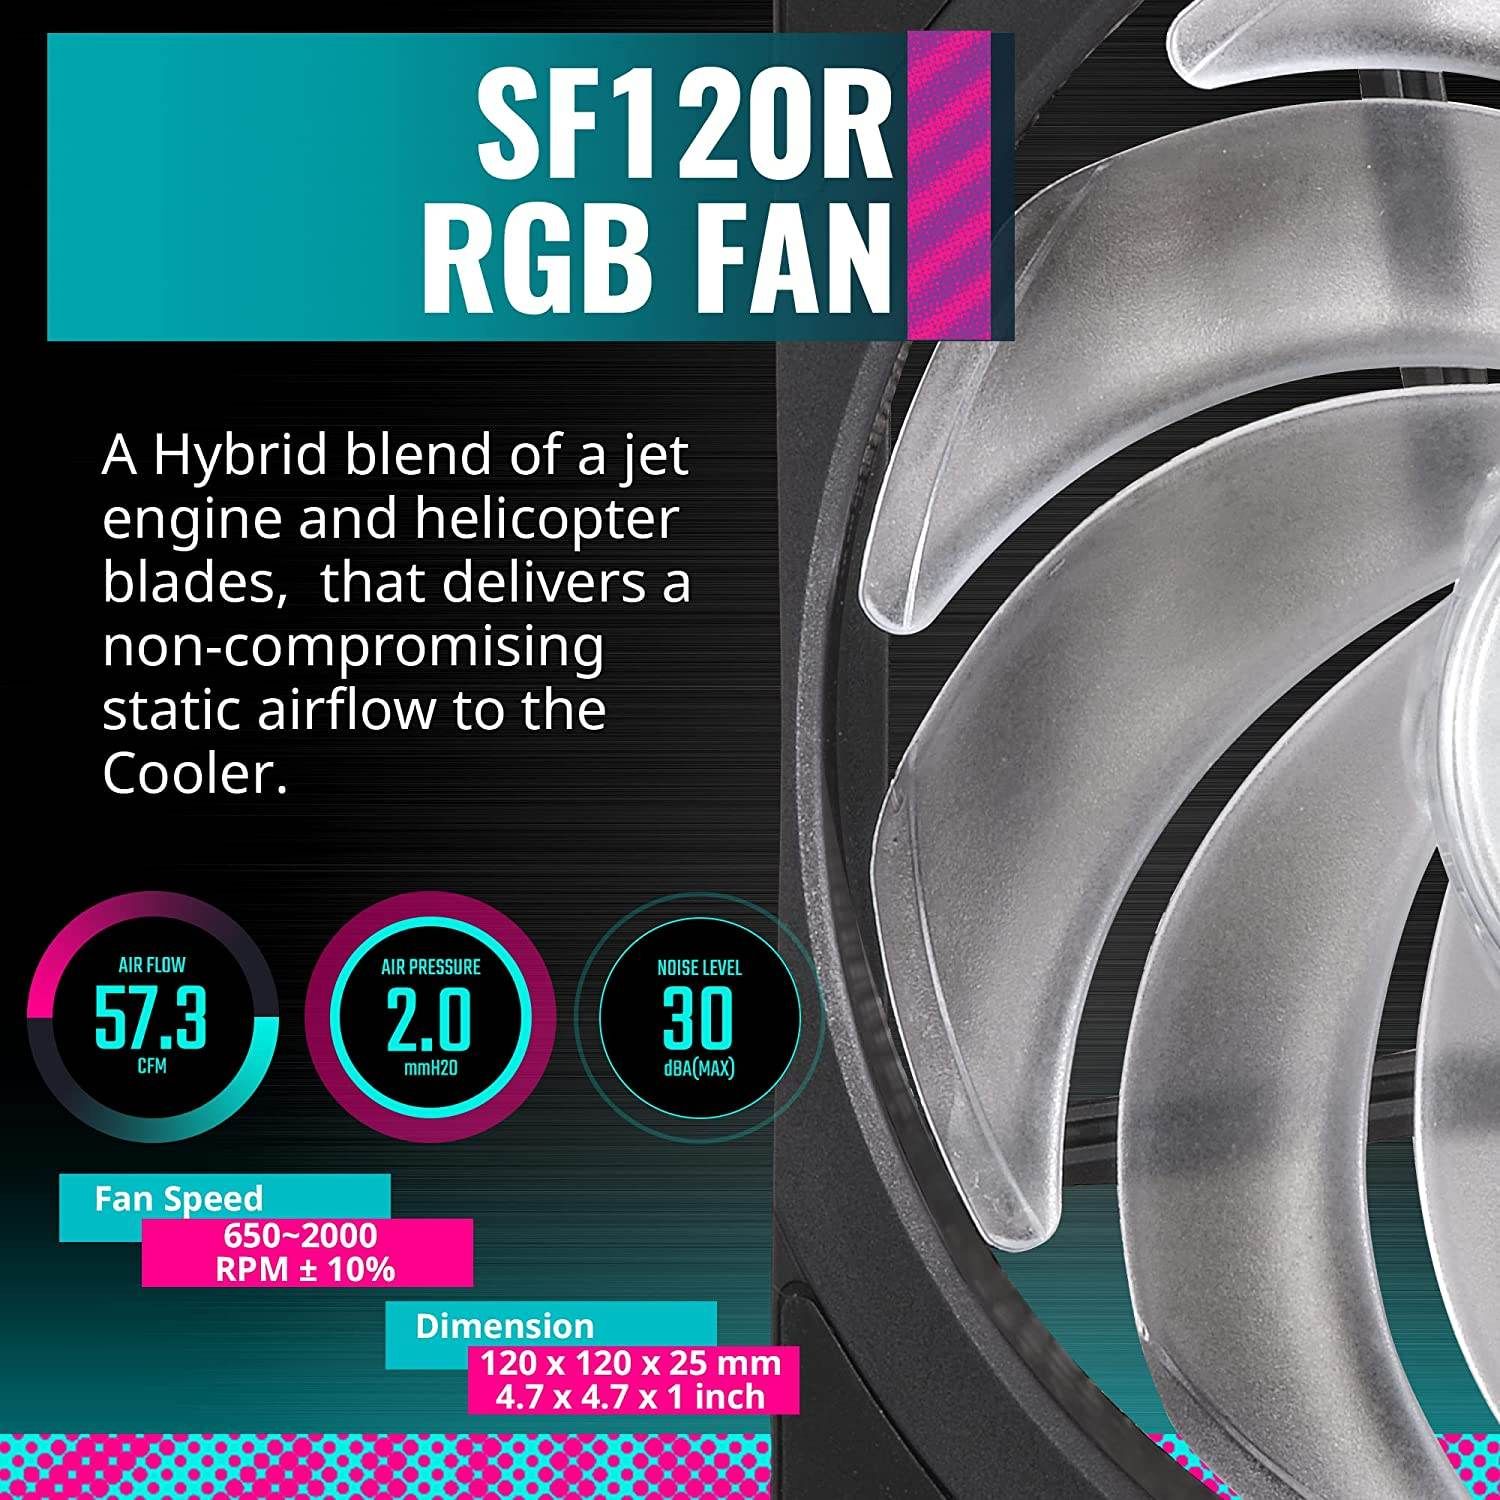
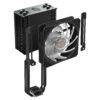
A Hybrid blend of a jet engine and helicopter blades, that delivers a non-compromising static airflow to the Cooler.
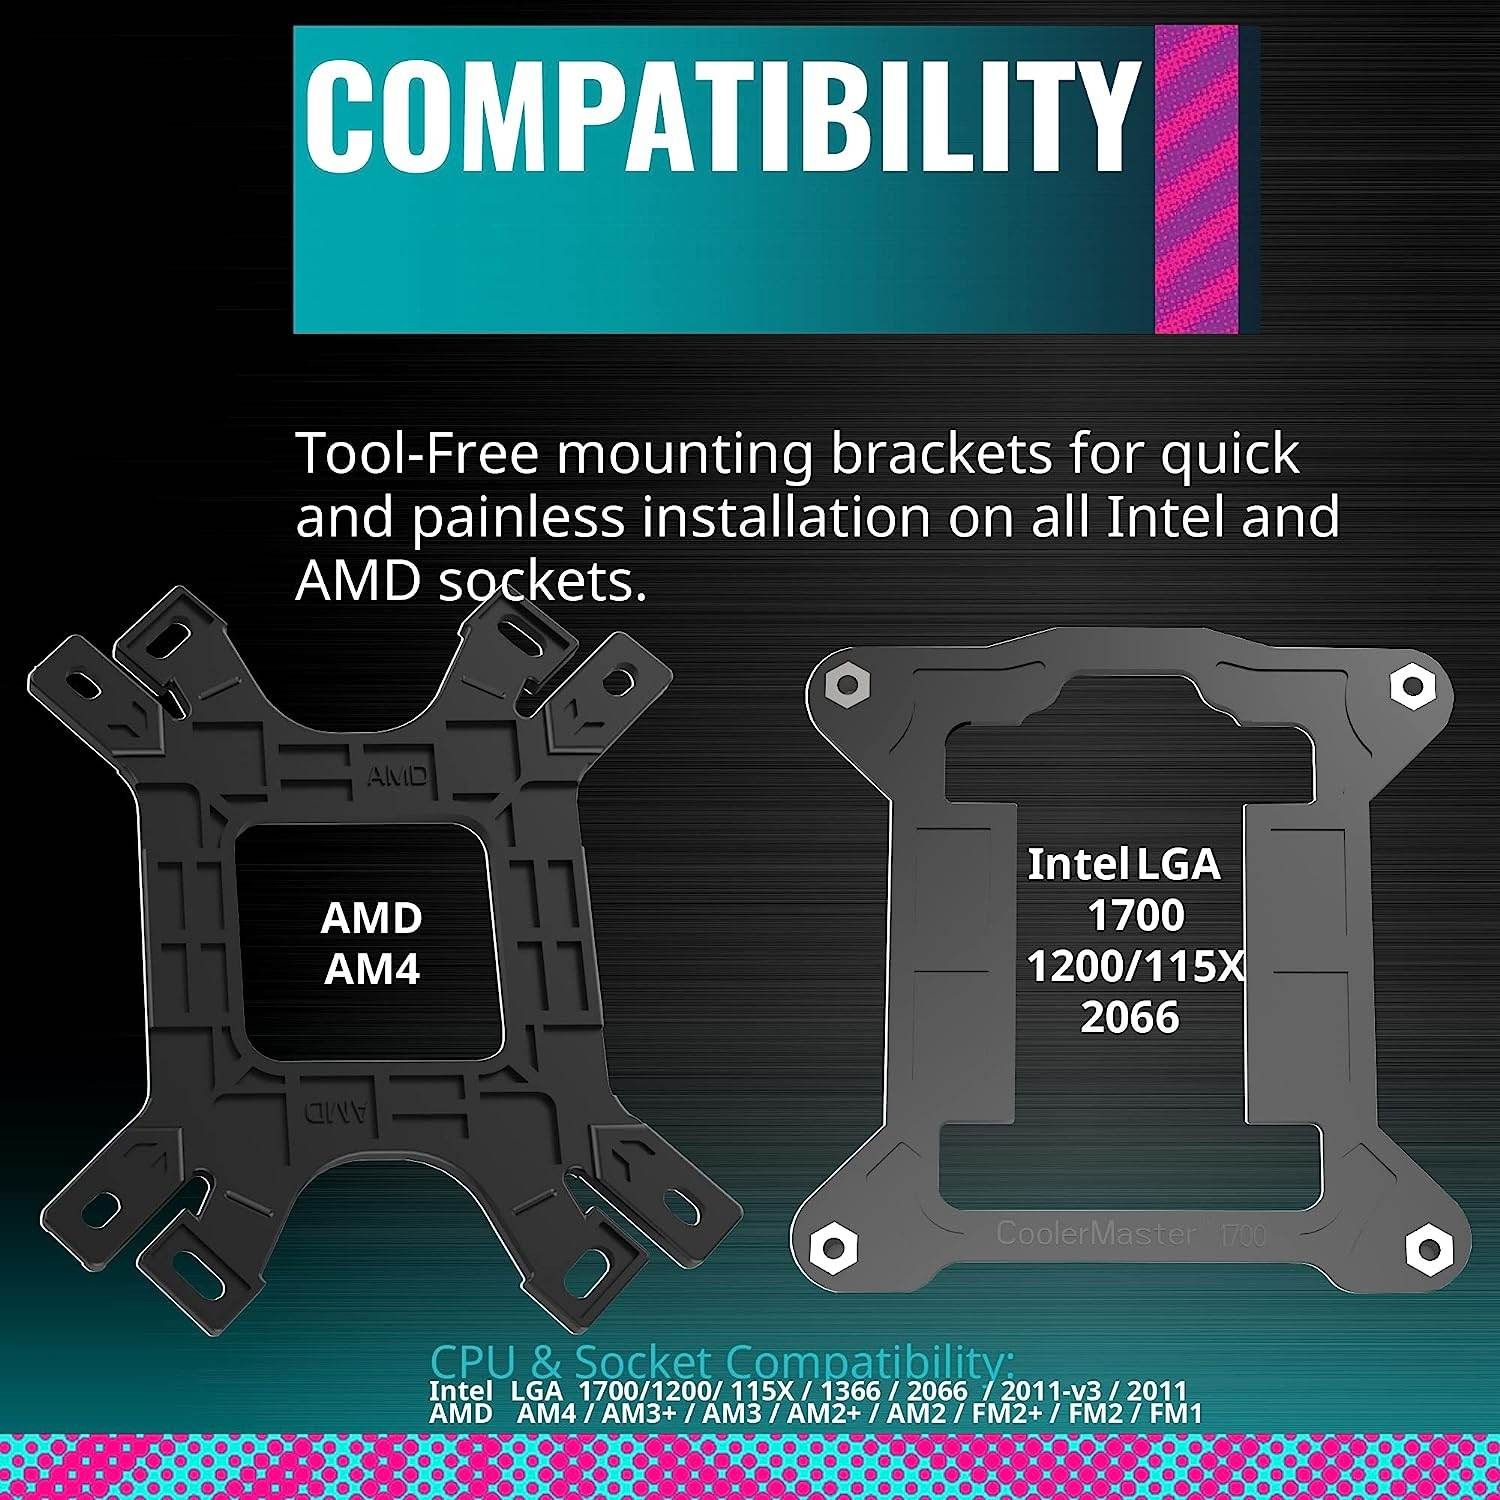
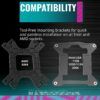
Tool-Free mounting brackets for quick and painless installation on all Intel and AMD sockets.
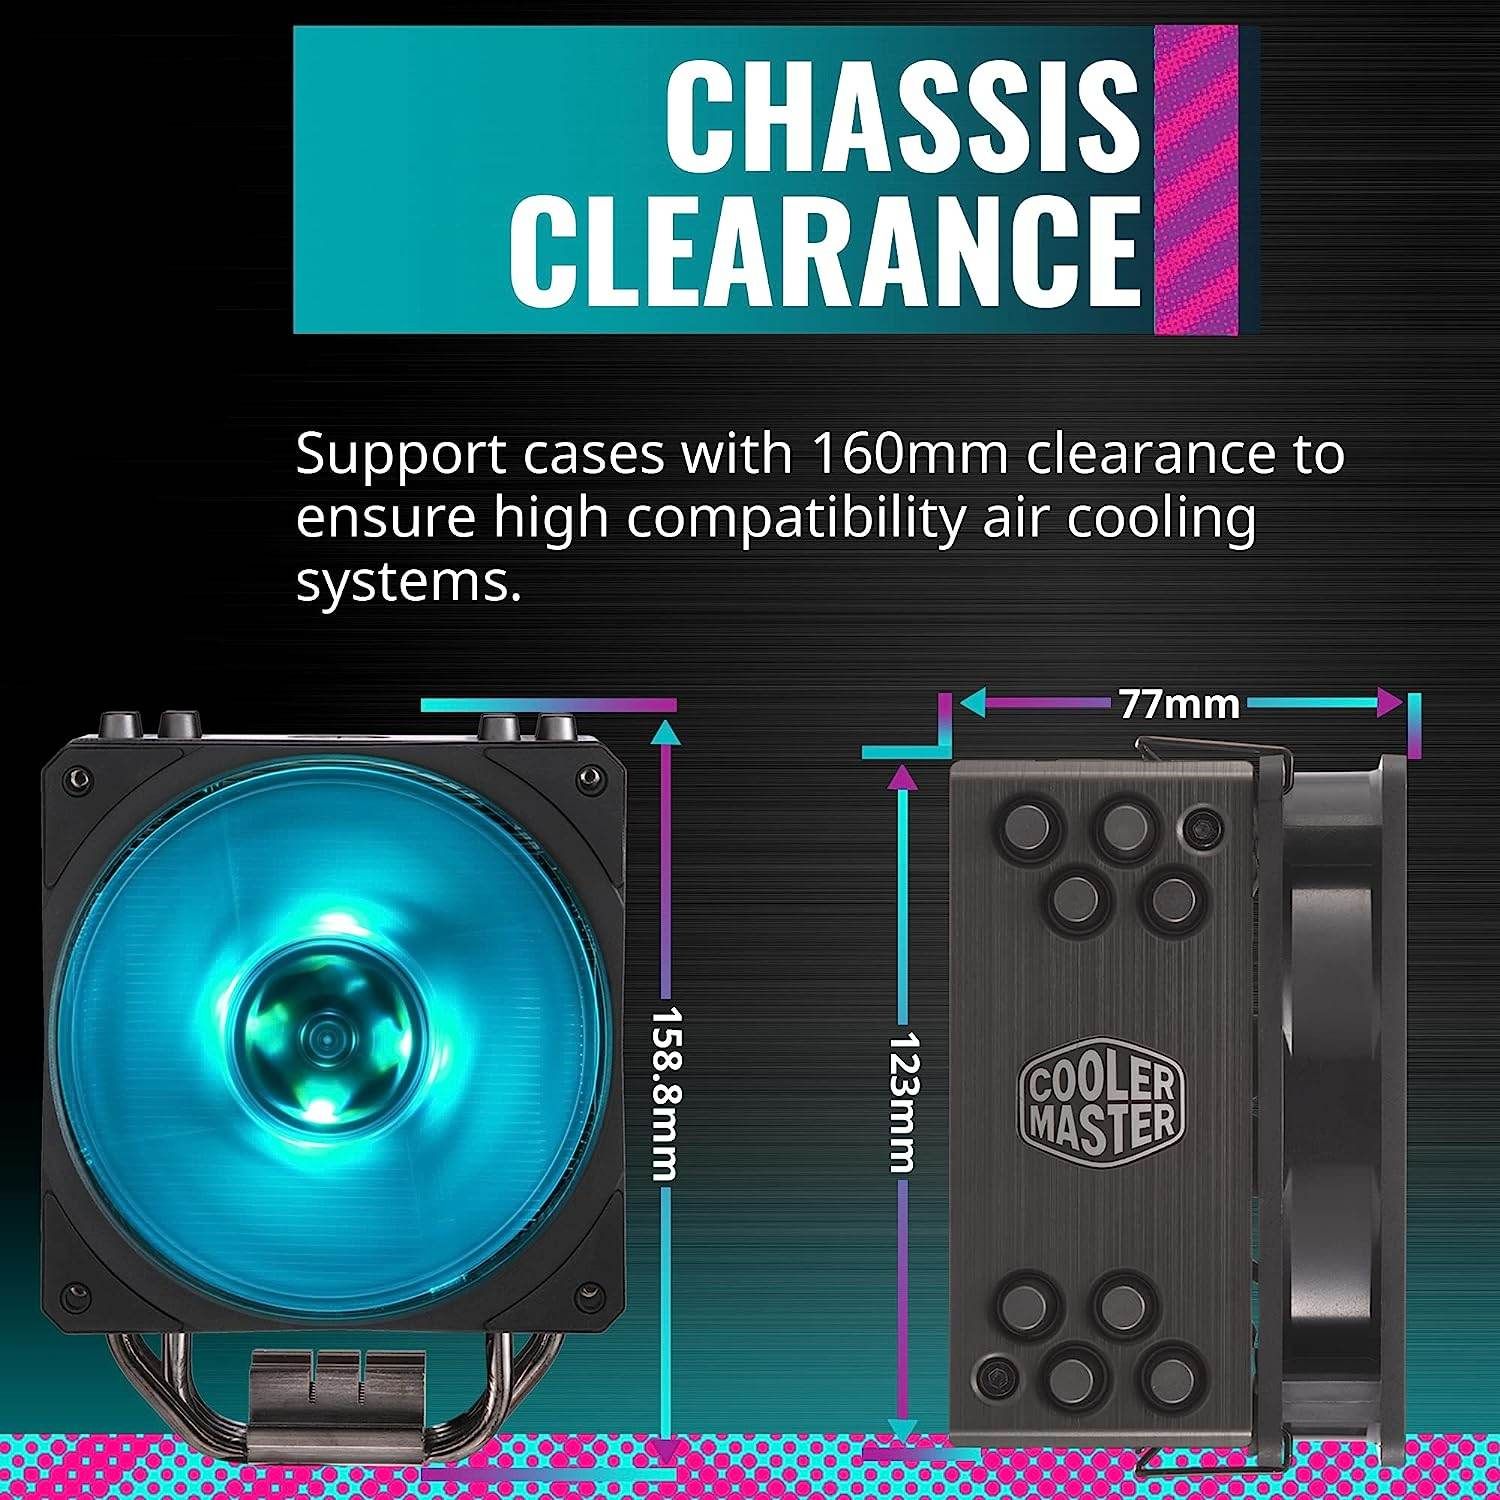
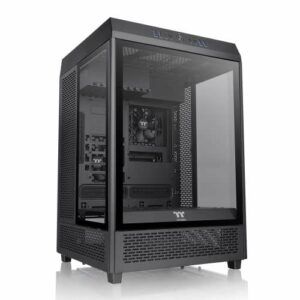
Support cases with 160mm clearance to ensure high compatibility air cooling systems.


![[4 Pack] JOTO Cable Management Sleeve, 19-20 Inch Cord Organizer System with Zipper for TV Computer Office Home Entertainment, Flexible Cable Sleeve Wrap Cover Wire Hider System -Black](https://6aad6a55.flyingcdn.com/wp-content/uploads/2023/02/4-pack-joto-cable-management-sleeve-19-20-inch-cord-organizer-system-with-300x292.jpg)


©2023 - Bizgamers.com. All rights reserved.
©2023 - Bizgamers.com. All rights reserved.


![[Gigastone] 512GB Micro SD Card, Gaming Plus, MicroSDXC Memory Card for Nintendo-Switch, Wyze, GoPro, Dash Cam, Security Camera, 4K Video Recording, UHS-I A1 U3 V30 C10, up to 100MB/s, with Adapter](https://6aad6a55.flyingcdn.com/wp-content/uploads/2023/08/gigastone-512gb-micro-sd-card-gaming-plus-microsdxc-memory-card-for-300x300.jpg)


Anon –
I’m going to start with the things I didn’t like.The instructions suck. They tell you to put thermal paste on your CPU before mounting the bracket that goes behind the motherboard. Due to the vague illustrations, I did not realize it needed a bracket behind the motherboard, when I was skimming the instructions. Simply put, I ended up having to put thermal paste on it twice because it’s impossible to take a motherboard out of your case, attach the mounting bracket and put the motherboard back in place without contaminating the thermal paste. Even a single finger print or eye lash or piece of dust is enough to contaminate it and have an impact on the performance of your heat sink.Another thing I didn’t like was the tool used for tightening on the nuts for the bracket. I tried using it but ended up using a wrench instead.Finally, I find the heat sink isn’t exactly what I’d call secure. Even after tightening it down and making sure I had everything properly lined up, the whole thing will still twist a little bit. It’s noticeable when you’re trying to re-attach the fan.I’ve seen other reviews saying they ended up with mounting parts that were defective. Fortunately, I did not have this problem.What do I recommend buying before attempting this?It comes with its own thermal paste but you could always buy better. I went with some Arctic Silver 5, like most people. You’ll also want some lint free wipes (coffee filters work but I do not recommend them because they’re a bit stiff and tend to cause scratches; I used PEC PAD wipes sold here on Amazon that I bought for cleaning photos and negatives) and either rubbing alcohol (at least 90% but 99% is preferred; can usually find at least 91% at Walmart and most stores) or one of those cleaner kits. Also, if you don’t have a small wrench set, you might want to get one, unless you plan to rely on the tool included in the kit. You definitely need a screw driver but most people would know this already.So, how do you put this thing on?Be sure to consult the instructions for each step. Also, before you do anything, take the heat sink and fan and verify you have enough clearance for it on your motherboard and in your case. This heat sink is rather large. There is a risk of it crowding a RAM slot or being too tall to even fit in your case.The first thing you should do is attach the bracket to your motherboard as per the instructions for your CPU. If you’ve already mounted your motherboard to your case, you will have to take it out. I used a wrench because I didn’t have enough space to flip it completely on its back and use the included tool.Detach the fan from the heat sink.After you do that, put the X shaped bracket through the gap behind where the heat sink makes contact with the CPU. Keep the adhesive strip on for now. Test and make sure the X bracket matches up with the mount points you attached to your motherboard. Once you confirm you have it correctly adjusted, place your CPU in the socket (if you haven’t already) and secure it.Clean the CPU cap (the part where the heat sink will connect with the CPU; use a lint free wipe and the alcohol or cleaner solution) and place thermal paste in accordance with the instructions for your thermal paste. If your thermal paste lacks instructions, the idea is to have just enough paste covering the part of the cap directly above the core(s) for your CPU. If you can’t find specific directions on google, you could try putting a small plus sign of paste in the middle. To get the appropriate amount of paste, you need only an amount equal to a single line covering about 50% of the length of the CPU cap. So, if you do a plus sign, it only needs to be about 25% of the length of the cap. If your CPU doesn’t have a cap, just place a rice sized dot in the center of each core. Again, most CPUs have instructions for this online.Once you’ve done that, take the adhesive strip off of the heat sink. I recommend cleaning the spot you took the adhesive off of (again, using a lint free wipe and cleaning solution) but it’s not absolutely necessary. If you want to confirm whether you put enough or too much paste on, you can place the heat sink against the CPU, apply some pressure (just enough to get the paste to spread) and twist the heat sink a little each way. If you pull it up and the paste is going over the edge, you have too much and should use a lint free wipe to clean the excess along the edges. There should be at least enough to cover a circular area over all cores.You should now carefully line up the brackets and orient your heat sink. Proceed with lightly screwing in each screw. Once you’ve got all 4 screws started, go around and tighten them all down.Finally, reattach the fan, plug it in and you’re done.So, what did I like about this?Once I finished putting it on, it lowered my idle temps quite a bit (down to about 27 C idle and about 48 C under load with the core temps topping out around 63 C under load) and it fixed the overheating problem I was having with my stock heat sink. Supposedly, over time the temps will get better as my thermal paste settles but I don’t expect a huge difference. The fan hasn’t noticeably raised the noise level in my PC, which is fairly quiet. I had a little trouble keeping the fan from touching the heat spreader on the closest RAM stick but I managed to wiggle in a tiny gap. The top of the heat sink comes really close to the other side of my case but there is a gap there. Overall, I’d say I’m satisfied.When I first put my stock heat sink on, it did a fair job (but not great since even a small overclock caused it to overheat) at keeping the CPU cool. However, about 3.5 years later my idle temps had nearly doubled and games were starting to make it overheat. I had a choice to make. I could either clean off my stock heat sink and CPU and put on new thermal paste or I could buy a new heat sink. I decided that if I was going through that much trouble, I might as well invest in a good heat sink. This heat sink is compatible with a large range of CPUs. Furthermore, I don’t plan to stop using my i5-3570K any time soon. So, even given the age of the CPU, I think I’ll get my money back out of the heat sink. I’m wishing I hadn’t been lazy and bought this heat sink back when I initially put this PC together.For anyone curious, these are my motherboard and case. ASUS P8Z77-V PRO LGA 1155 Intel Z77 HDMI SATA 6Gb/s USB 3.0 ATX Intel Motherboard Thermaltake Armor Series VA8000BWS
Brach Janney –
I don’t even remember the series I originally bought this to cool. I purchased it September 2012 off of Amazon. I’m pretty sure the first generation I cooled with this was a 3rd gen Intel I7. I know that the second system I used it in was to cool a 6700k which it handled fantastically. I retired the 6700k for the 8700k, which I eventually delidded, swapped for a copper IHS with liquid metal instead of paste. I also at that time “upgraded” to a DeepCool Castle 240ex for overclocking. I don’t recall how long that DeepCool lasted, but I can say that my Hyper 212 is currently cooling that 8700k which is currently being run as a SOHO (Small Office Home Office) linux server and still maintains 50C, 58C hotspot, under 90% load. I did swap the fan for a Noctua, but the cooler master fan did last a decade.This may just be the best cooler ever designed in terms of price for performance.It’s just too bad it won’t be viable for the 12th/13th I7 gen power hogs Intel has created, though I believe it has been tested to, and performs well with lower core count 12th/13th gen chips.I would definitely still recommend this product today for it’s proven longevity and durability, but would recommend it checking to make sure it can handle the thermal load (TDP) of your processor first.
D. E. –
From 99 degree’s down to 79 degree’s. This cooler saved my CPU from throttle hell.Now… This didn’t originally fit in my case. The case has stilted screw receptacles that are built into it which cause the heatsink to hover hand like an awkward dude taking a picture with a girl for the first time. What I did to fix that is I went to the hardware store, and picked up washers and nuts that matched the screws strip and then set it between the bracket so that the heatsink sat lower so that it wasn’t hover handing over the CPU. This shouldn’t be the issue for too many people but if you do run into this issue just grab a nut or some tiny washers for literal penny’s from the hardware store for an easy fix to this.